Laser Photo Wizard Box Generator
 While the focus of laser photo wizard is to be the world's best photo engraving software, it is recognized that many of our uses are engraving these photographs to give as gifts or sell at shows. Most lasers are powerful enough to cut thin wood so what better way to show off your engraving but at the top of a box or the image of serving tray.
The box generator can create a top and the bottom of a box or it can create a cube that is cut with a saw into 2 parts. The boxes can be any dimensions and there are several setting for the kind and number of cuts on the sides.
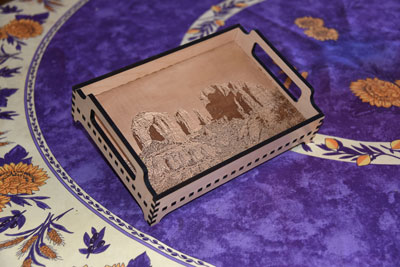
The box generator can also create trays with handles.
How to Use the Box Generator
Step 1
Click on the Generators icon and then select Box Generator.
Step 2
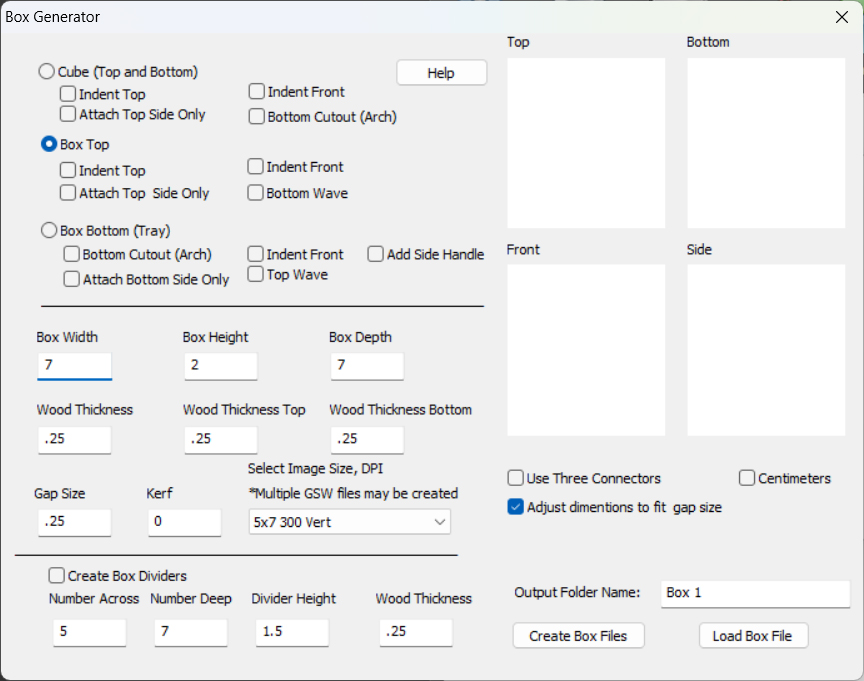
Select the kind of box you want and the dimensions from the Box Generator.
 Step 3
Select an output image size that matches a dpi that can be selected by your laser driver.
If the image size is too small to draw the largest object, a message will ask you to select a larger image size.
If all the parts of the box will not fit, it will create multiple job files. If you cannot find an image size in the list,
then you can create your own image size using Setup/Utilities/Edit Image sizes.
Step 4
Click the Create Box Files button. That will generate the box files in the folder specified and show you
a not to scale image of the Top, Bottom, Side and Front.
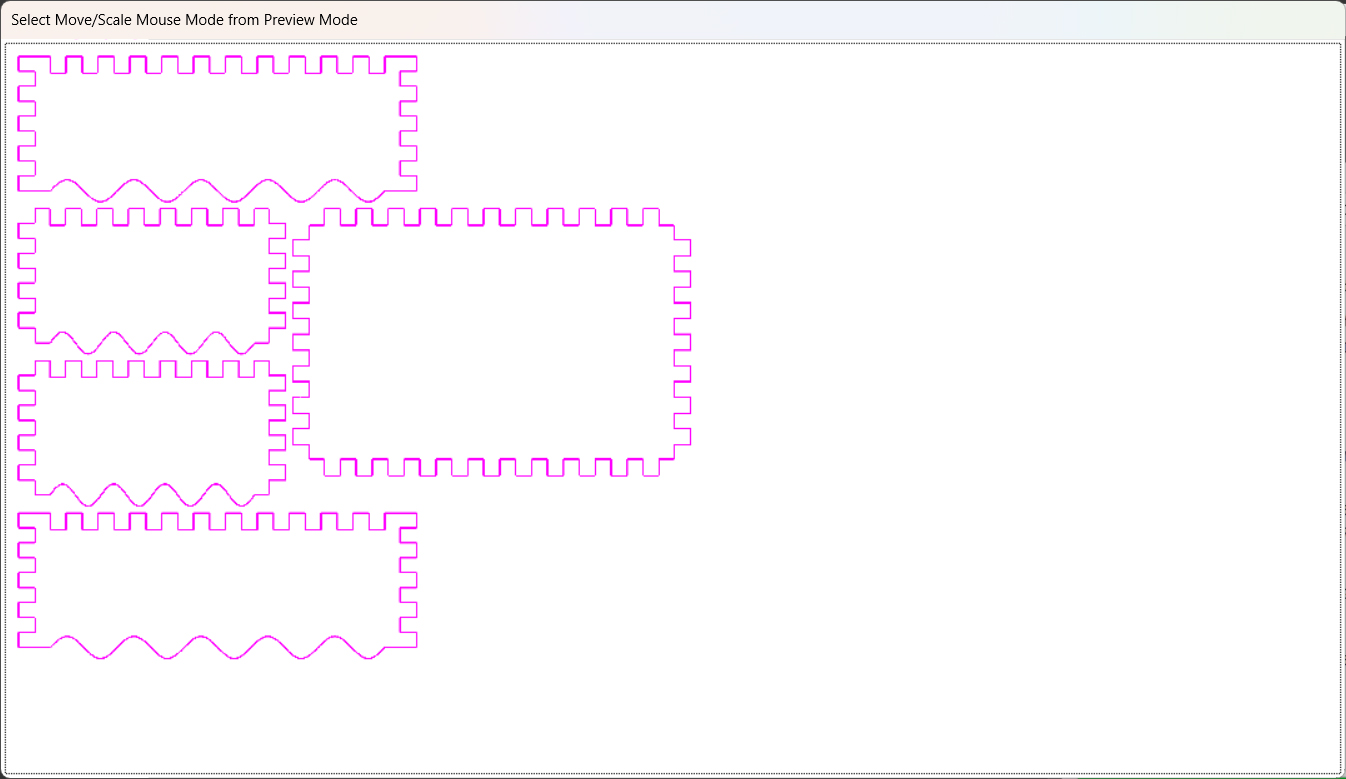
Here are the box files generated:

The generator creates an image for each item of the box, including gluing strips and dividers.
Even if for example you have a box with no top, the top file will be created. The program will also create a GSW.box file that contains the settings for this box. The wizard will try to fit all the parts of the box on the image file selected. It stores this answer in the Box Job1.gsw file. If it cannot fit all the parts on a single file then it will create as many jobs as it needs.
Step 5
Use the load foreground button to load the Box Job1.gsw file. If the box is large you may need to load several job files. You can add text or images to the file once it is loaded.
 Dialog Details
 Box Types
Cube (Top and Bottom)
 - Adds a top and bottom
o Indent Top - will indent the top so that an image can be placed in it.
o Attach Side Only - The front and back of the box will be smooth
o Indent front - the front of the box will be indented
o Bottom Cutout - The bottom will have an arch on all 4 sides
Box Top - Creates a box top
o Indent Top - will indent the top so that an image can be placed in it.
o Attach Side Only - The front and back of the box will be smooth
o Indent front - the front of the box will be intented
o Bottom Wave - The bottom will have a wave pattern that will connect to an inverted wave pattern on the top of a box top. This creates a top that will not slide.
Box Bottom - Creates a box bottom or tray
o Bottom Cutout - The bottom will have an arch on all 4 sides
o Attach Side Only - The front and back of the box will be smooth
o Indent front - the front of the box will be indented
o Top Wave - The top will have a wave pattern that will connect to an inverted wave pattern on the bottom of a box bottom. This creates a top that will not slide.
o Add Side Handle - Will add a handle to a try
Dimensions and Thickness
Height, Width and Depth in inches
Thickness is the thickness of the material, so 1/4 inch material is .25, 1/8 material is .125
Most of the time the box is made from the same material but sometimes you may want a thinner top, for example if the top is Plexiglas.
The gap size is how wide the connector is. If you make it the same size as the depth, then the connector will be perfectly square.
You need an even number of gaps so the software will adjust dimensions to make the gap you asked for. If you want an exact size box, then unclick the adjust box dimensions checkbox.
Box Dividers
The Box Generator always creates box dividers. You specify how many across and deep. You also specify the height your want and the thickness of the material. The exact divider dimensions will be computed from the size of the box.
Most of the time these are not used.
Glue Strips
If you need extra support inside a box, glue strips are always generated. They are seldom used.
Some Examples
Simple Cube with 1/2 inch connectors
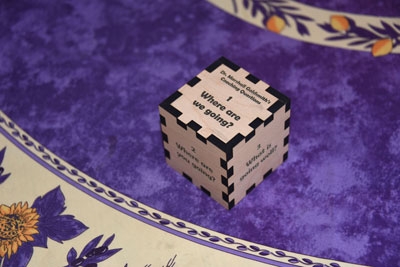
The new wave feature creates a self locking box. This not only looks nice but does not need a hinge so they can be economicaly produced.
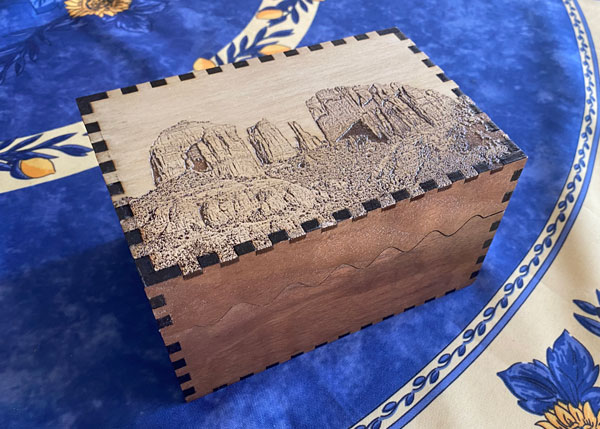
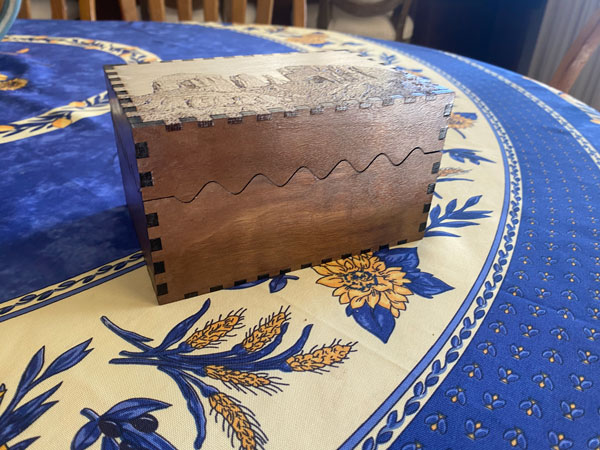
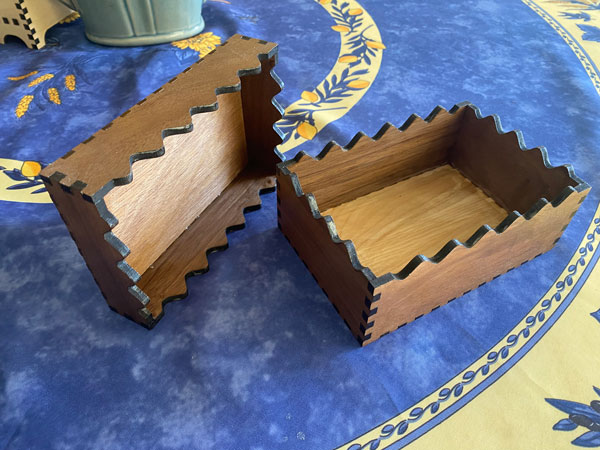
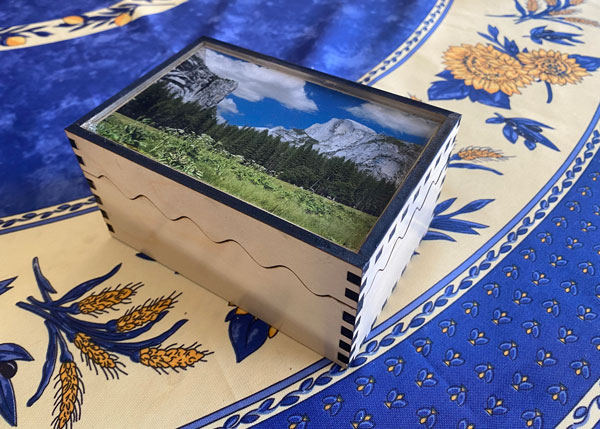
An example with an indented top that has a photo attached and then filled with resin.
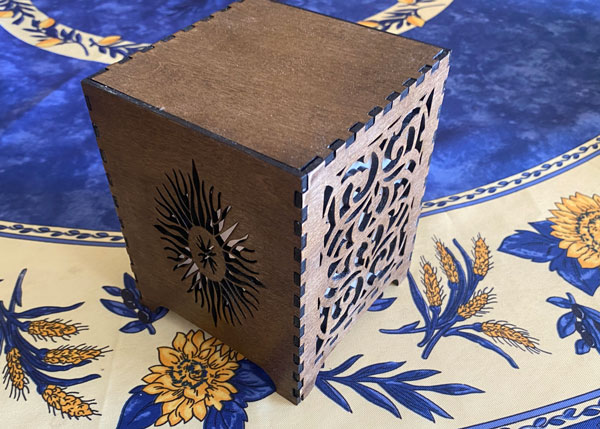
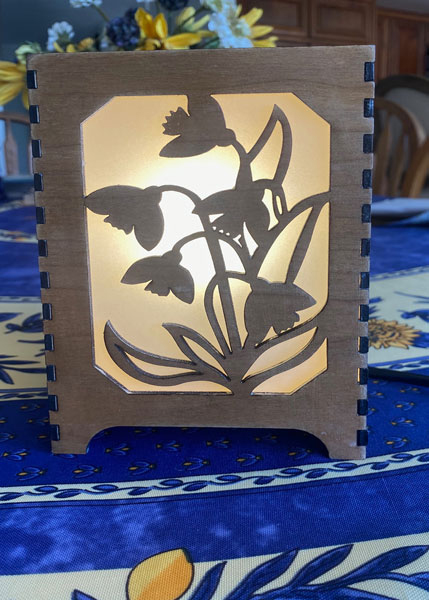
The Cube with a bottom cutout makes an excellent lantern. You can use any simple solid graphic and the wizard will create a vector outline to cut it out.
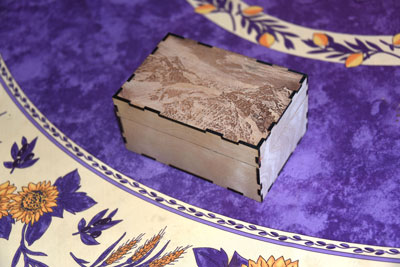
3 Connector box with top engraved
Engraved tray with the handle option
